

Level of difficult: Fairly easy
Duration 1 Hour+
Are you sick of being interrupted when in the bathroom? If so its time to get your privacy back by installing a bathroom lock.
Installing a bathroom lock may seem tricky and daunting, but at Eurofit we think it’s an easy enough job that’s suitable for most of you DIY’ers. The process is simple, given the right tools you should be able to install your new lock in around an hour or so! However, this all depends on whether you are replacing an existing handle or fitting it to a new door.
In our how to guide, we will show you how to install a bathroom lock onto a new door. You may find that this process is like replacing locks and handles, however you just need to remove the existing mechanism and alter the holes in the same way as shown in this guide.
Before you begin, here’s a simple checklist of all you are going to need;
- Bathroom door lock mechanism
- Bathroom thumbturn
- Bathroom door handle
- Wood chisels (12mm & 25mm)
- Claw hammer
- Power drill & wood drill bits (16mm & 20mm)
- Tape measure
- Pencil
- Screwdriver
- Screws
Step 1 – Measuring the lock position
To begin, you will need to measure and mark out the desired lock position. To do so, hold the mechanism for the lock against the edge of the door where you would like it to be installed.
Next, use your tape measure to find the centre-point of the door, and draw a straight line through your marked points.
Step 2 – Creating a hole for the mechanism
Now, you will need to create a hole for the mechanism. We say the easiest way to do this is by using a drill and wooden bits. Start by checking the width of the internal part of the mechanism (this will be going inside the door itself) Then, choose he most appropriate drill (usually 20mm, but al least 2mm smaller than the width of the mechanism)
Using your pencil markings and the centre-point line as a guide, drill a series of holes into the edge of the door in a vertical line – be careful not to go outside the markings.
Then carefully chisel these holes into the single and larger hole that will house your lock mechanism. Finally, remove all wood shavings from this hole and insert the lock mechanism.
Note: You may find you need to make a few adjustments to ensure it fits correctly.
Step 3- Making space for the latch plate
This step involves hollowing out space for the latch plate. The idea is that the mechanism sits in the hole, flush and the edge of the door.
Begin by drawing around the latch plate with the mechanism in the hole. Next, remove the mechanism. Then you need to carefully chisel out the outline, to the depth of the latch plate, so that the unit fits flush in the door.
Note: take care during this step and remember you can always chisel out more if needed but font chisel out too much!
Then, slip the mechanism into the hole and ensure it sits flush to the edge of the door.
Step 4- Making holes for the handle and thumbturn
This step involves marking out the positions for the spindles, where the handle and thumbturn will fit.
Begin by holding up your lock mechanism to the side of the door, ensuring it is lined up carefully with the hole you have made for it.
Next, mark the positions of the spindles and on the doors by pushing a pencil through the lock slides. Note: to be on the safe side, do this on both sides of the door.
Then drill two holes through the door at the marks and remove all excess shavings.
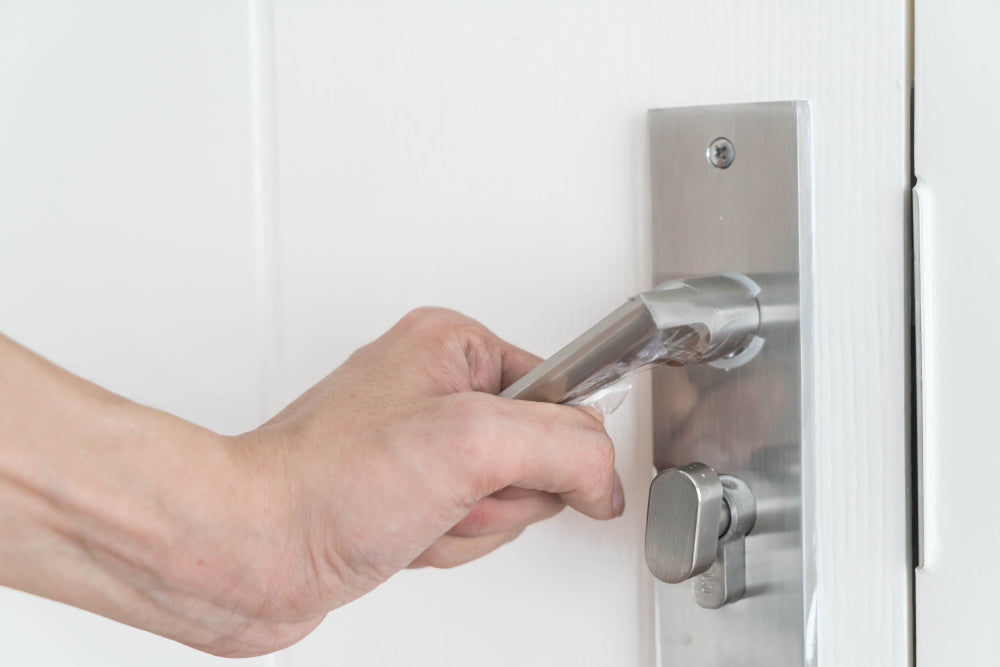
Step 5- Fitting the lock
For this step, begin by slipping the lock mechanism into the hole and securing it in place with the screws provided.
Once it is in place, you can fit the handle and thumbturn through the holes, and secure those in place using the screws provided.
Once it’s in place, you can fit the handle and thumbturn through the holes and secure them in place using the screws provided.
Step 6- Installing the striker plate
This step is how to install the striker plate (the section the lock fits into), to the doorjamb.
Carefully line up the new lock with the doorframe and mark out the position of the striker plate.
Next, use your tape measure to locate the centre-point of the doorjamb then draw a line through the centre.
Finally, create holes for the door close mechanism and locks, in a similar way as to the mechanisms in steps 2 and 3 in this guide
Let us help! Find all you need with our bathroom locks, thumbturns and door handles.
