

7 easy ways to get your home ready for winter
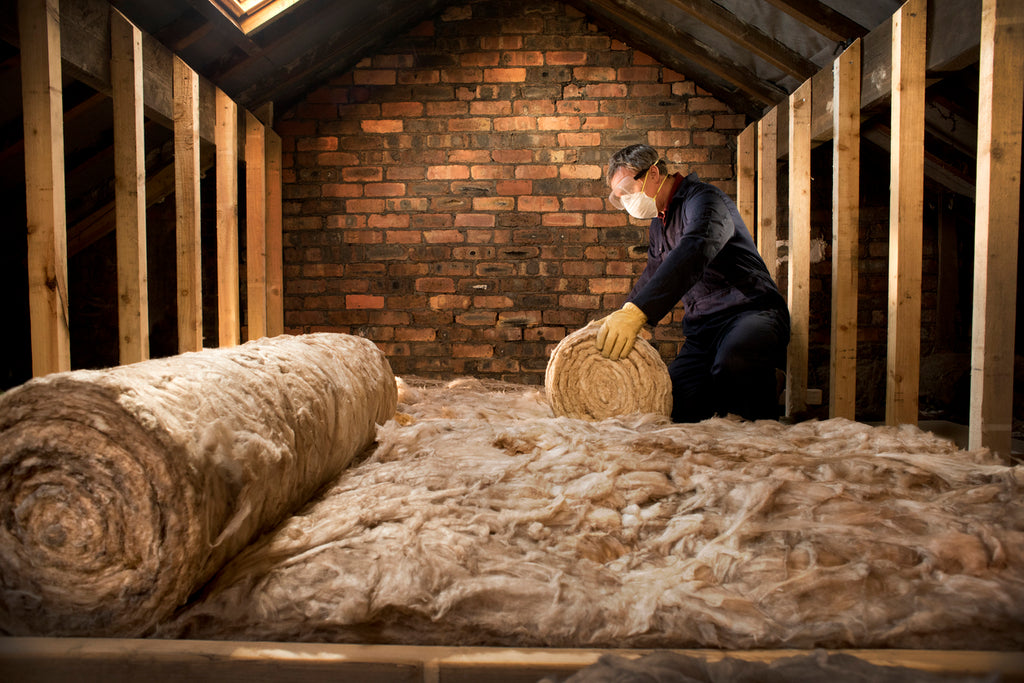
How to install insulation in your home
Winter is coming! As the colder weather descends on the UK, there’s never been a better time to top up your loft insulation (to the recommended level of 270mm) to ensure your home retains heat better – helping you to keep warm and save money on your bills.
Installing loft insulation is pretty quick and easy, and you won’t need any special tools to install it – just some safety clothes. In fact, the most time-consuming aspect of the project is usually clearing out the loft beforehand!
💪 DIFFICULTY RATING: 40%
⏱ TIME: A weekend!
You’ll need...
- Rolls of loft insulation
- Tape measure
- Sharp scissors
- Work clothes/protective overalls
- Protective gloves
- Dust mask
- Goggles
- A plank (to lay across your loft joists and work from)
- Knee pads/garden kneeler
- PVA glue
Step 1 – Choosing your insulation
In the UK, there are three main insulation material types to choose from, each with their own benefits and downsides.
- Glass fibre
The cheapest option is glass fibre, which is readily available at all DIY shops, and provides excellent insulation. The downside is that it can irritate the skin, so you’ll want to make sure you wear goggles, a dust mask and protective gloves whilst installing.
- Mineral wool
Mineral wool is usually more expensive than glass fibre, but is also more fire-resistant. Like glass fibre, it can irritate the skin, so if this is a concern, buy a roll that’s covered in metallised film.
- Natural sheep wool
An environmentally friendly option that’s also a fantastic insulator (up to 10% better than man-made products), sheep wool insulation is easy to handle, tear and fit, but is a more expensive option.
Step 2 – Clearing the loft
The first thing you’ll need to do is clear your loft completely. Before you start, take a look to see what kind of insulation you already have fitted – and if it’s synthetic/glass fibre wool, make sure you cover up with some overalls, safety gloves and glasses.
At this point, you may want to use your board, and lay it across the joists, to give you a stable platform to work from. Insulating your loft requires a lot of bending and kneeling down, so using kneepads or a garden kneeler will help to protect your knees and make the job much more comfortable.
Step 3 – Check your insulation levels
Before you start topping up, you need to know how much insulation you’ve already got. With a tape measure, check the width and depth of your current insulation so you know how much you’ll need to add in m2.
Step 4 – The first layer
Unpack your insulation one roll at a time. Start at one end of your loft, and lay one end of the insulation up towards the eaves (leaving an inch gap for airflow), in the gap between the joists.
Now, roll it out until it reaches the other side of the loft (leaving another 1” gap at the end), before pressing it down lightly into the space. Use scissors to cut it to size.
Keep laying rolls out until the whole loft is covered – avoiding the area under your water tank. Leave a gap of around 3 inches around any recessed light fittings, and keep electric wires on top of the insulation to stop them from overheating.
Repeat the process with more rolls of insulation, until you reach the top of the joists.
Step 5 (advisory) - To store or not to store
If you’re wanting to board out your loft to use it for storage, you need to stop putting insulation down before you reach the top of the joists. This may be less than the recommended 270mm (you may get as little as 100mm in!).
However, you can purchase insulated boarding which can be installed on top of your loft joists, and underneath your loft boards. This will improve the heat retention of your loft without compromising on storage space.
Step 6 – Cross-laying the second layer
Once you’ve reached the top of your joists, it’s best to cross lay the next layer of insulation at right angles to the joists, until you reach your required thickness.
Whilst 270mm is the recommended level, you can put in more if you like – cross laying each layer until you’re satisfied.
Step 7 – Battening down the hatches!
As a finishing touch, and for maximum insulation, you can now cut out a square of insulation big enough to cover the hatch to your loft, before gluing it in place using your PVA.
You’re finished!
How we can help
Insulation can be a messy job, and can cause irritation to the skin, so make sure you’re protected by investing in the right, high performance safety equipment – all available at unbeatably low trade prices!
