

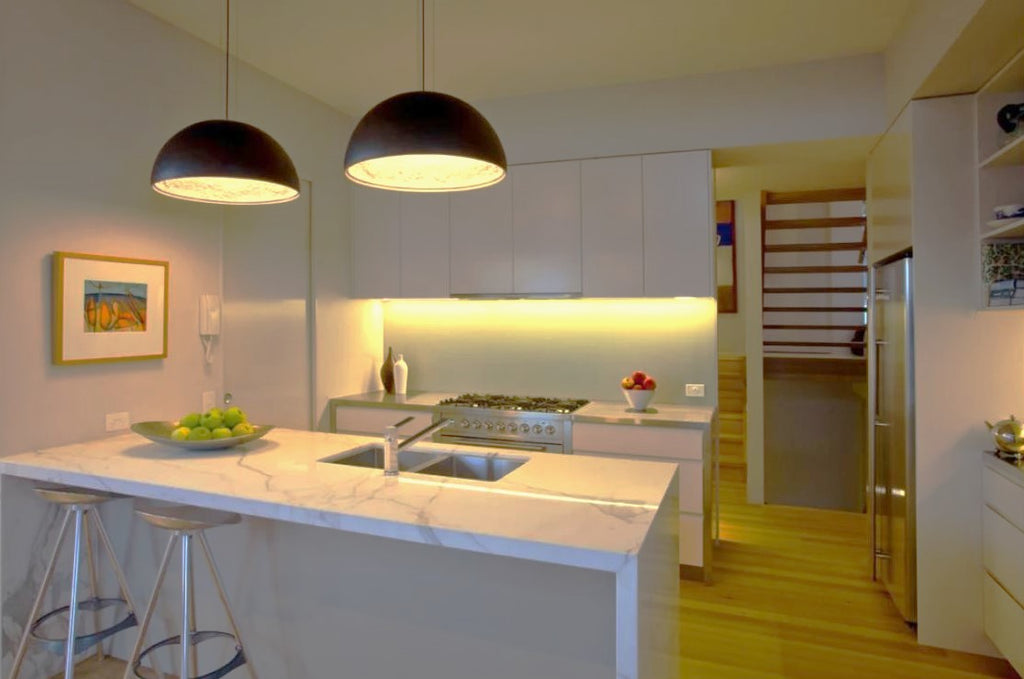
Building your very own breakfast bar
Here at Eurofit, we know kitchens are the heart of the home are they deserve a re-vamp every now and then. Open plan living has seemingly taken over with new layouts, accessories and appliances. The humble breakfast bar is a kitchen necessity that is in UK kitchens and several countries around the globe.
Breakfast bars are the perfect solution to bulky dining room tables in smaller kitchens yet make a lovely feature in an open space in larger kitchens. Even better, kitchen breakfast bars are fairly easy to install, can be done on a small budget, and an ideal DIY project to get stuck into.
Feeling inspired and ready to give it a go? Follow our step by step guide on how to build your own breakfast bar to suit your kitchen space.
Note: Our article is designed for an open plan kitchen space therefore in this instance, the breakfast bar will be attached to a wall rather than a kitchen worktop.
Difficulty – Intermediate
Duration – ½ a day
Tool Checklist:
- Drill
- Straight Edge
- Screwdriver
- Tape Measure
- Pencil
- Saw
- Spirit Level (Metre Length)
- Drill Bits
- Bradawl
- Worktop Kitchen Sealer (If Required)
- Edging Strip and Glue
- Hammer
- Worktop of your choice (we advise matching your current kitchen worktops)
- Screws (see our range here)
- Table leg with top plate (see our range here)
- Small tub of paint (If required)
- Baton (2X3)
- Rawl Plugs
Step 1: Choosing the location for your breakfast bar
Before you begin, the first step is to choose where you would like to install your breakfast bar. This involves thinking about suitable spacing. For example, in an open plan kitchen choose a wall with plenty of floor space surrounding it.
The idea is to create the perfect focal point of the space and this can be done by placing the breakfast bar in the centre of this wall. Once you have chosen where you are placing the breakfast bar, the next step is to focus on which materials you will be using.
Step 2: Materials - right cut, right size
When it comes to selecting your materials for your breakfast bar, we advise using the same materials as your existing kitchen worktops. Once you have done this, you need to think about cutting your worktop to the correct size; this requires calculating out the exact size you would like your breakfast bar to be.
Meanwhile, we think it’s important to think about how many chairs/stools you will need to fit underneath the breakfast bar. The simplest way to do this is to identify the main function/purpose of the breakfast bar. For example, is it for the kids during breakfast time? Or will it be used as a chill out space for you and friends?

Step 3: Estimate how high your breakfast bar will be
Now you have your worktop ready to begin building your breakfast bar, you need to think about the height of your breakfast bar. Depending on the types of chairs you will be using (for example stools) will determine the height of your breakfast bar.
Our range of table legs begin at 375mm up to 1100mm meaning there’s a wide variety of different heights to choose from. You can quickly view our range here. However, we recommend opting for our 870mm table legs if your breakfast bar is an alternative to using a dining table.

Step 4: Attaching your table leg
In this guide, we will be using one singular table leg for the breakfast bar, however in some cases two legs can be used if required/preferred. Begin by laying your worktop on the floor (topside down) and find the centre of your workshop at the end you’re attaching your table leg to.
Then, place the plate in position and drill your pilot holes, you can then screw your plate to the worktop. You will now be able to screw your table leg into the table plate. It is important to ensure that you use the correct length screws; for example, if they are too short your table leg may not be stable, however if they are too long they may damage the work surface.
For the next part you may need an assistant.
Step 5: Marking your breakfast bars position
The next job is to mark where your breakfast bar will be positioned. In order to do this, we advise turning the breakfast bar over (with help of someone) and butt up against the wall in the desired position you want it to be. Next, get your spirit level and adjust it until the bar is level.
Then using a pencil mark the edge from edge underneath the breakfast bar on the wall where the baton will be placed. You can now place your breakfast bar back on the floor. Afterwards using your tape measure mark the centre point of your line on the wall.

Step 6: Pre-drilling pilot holes
You now need to pre-drill all your pilot holes on your baton and worktop. In order to do this, simply measure the centre point of the baton and of the worktop- which will be connected too and mark it off.
Next, on the baton find the ¼ point at each side and measure the distance between that and the centre point. Then, mark the same distance from the centre point on the worktop to match up the holes.
Note: you may want to paint your baton the same colour as your walls or worktop.
Once you have done this turn your baton onto its side and drill two pilot holes 1/3 of the way in. Remember to drill your pilot holes the correct thickness to the screws you will be using.
You can then place your baton against the wall and match your two centre points. Lastly, mark where your holes are with a bradawl.
Step 7: Attaching your baton to the wall
You are now just about ready to attach your baton to the wall. Start by drilling the holes you have just marked with your bradawl. However, ensure you drill them the depth of your rawl plugs. Then, using your hammer insert the plugs into the holes and finally screw the wood to the wall.
You should ensure that you use the correct fixings for the type of wall.
Step 8: Securing your breakfast bar
You are now ready to secure your breakfast bar to the wall; to do this place your breakfast bar above the baton correctly aligned with the pilot holes you have pre-drilled. After this. Simply screw your worktop to the baton.
Then, whilst using your spirit level ensure the breakfast bar is completely level, you should now be able to adjust the foot on your table leg up to 30mm.
Step 9: Finishing touches
Now your breakfast bar is complete, you can add the final touches. Simply add your edging to any exposed areas using your edging glue. As well as this, you may wish to seal your breakfast bar to the wall (especially if you have tiles).
To do so, follow the manufacturer’s instructions. Finally, add your chairs/stools and some cutlery and design accessories to fully create the perfect focal point in your chosen kitchen/ dining area.
And now you’re all set, your breakfast bar is complete and ready to be used! We hope you found this blog useful, and share you finished project with us!
marketing@eurofitsystems.com
