

With summer just around the corner, now's the perfect time to get your home ready for those weekend parties and BBQ's. What better way to show off to your friends and family, than by building a home bar or drinks cabinet.
If you're thinking to yourself, "I'll never be able to do that." let us put your mind at rest. It's an easy weekend project which most people can do on their own.
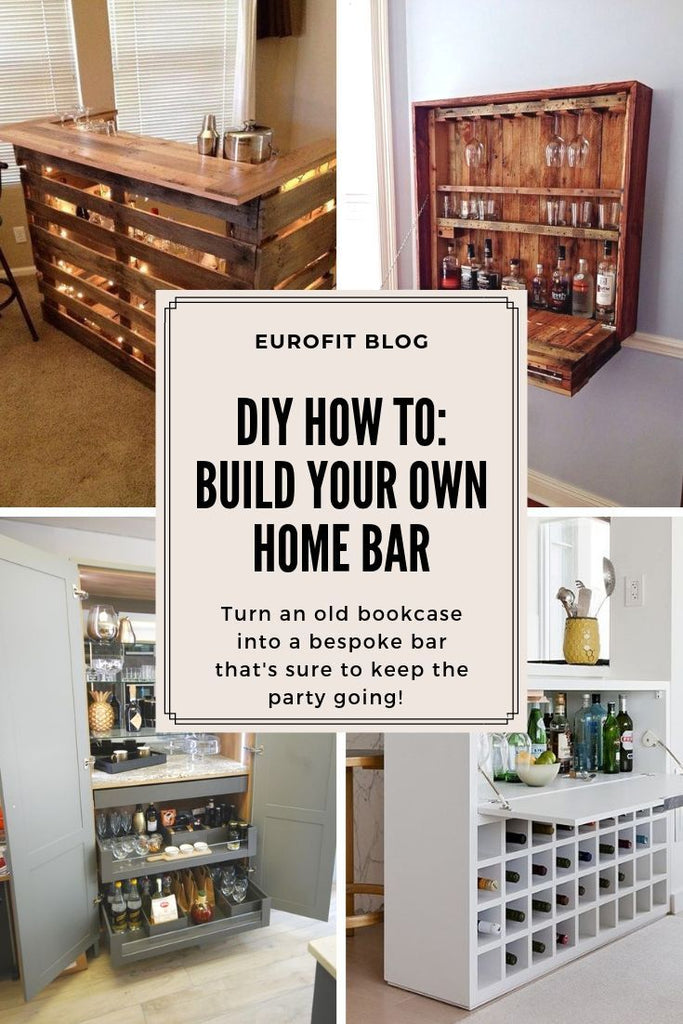
In this article, we'll be explaining how you can up-cycle an old bookcase into the perfect home bar. What's more, it's a great talking point that's guaranteed to keeping the party going all night.
How to Build your very own Home Bar
What Tools Will You Need?
A home bar (or drinks cabinet as we’re going to show here) is a relatively simple project which should only require basic tools, although, with scope to make your design more elaborate, you may need extra, specialist equipment:
- Tape Measure
- Coarse Cut Saw
- Drill
- Basic Wood Drill Bit Set
- Holesaw Set (optional)
- Screw Driver Set
- Torpedo Spirit Level (To be used in confined spaces)
- Sandpaper Sheets & Sanding Block
Using Power Tools
This project can be undertaken by most competent DIYers without the use of power tools as there aren’t too many ‘big jobs’ involved in creating a home bar; particularly when up-cycling an existing bookcase. However, if you do want to speed things up, there are number of power tools which could be used;
Circular Saw
Swap your hand saw out for an electric circular saw to save time when cutting sheets to the correct length and width. Although different circular saw blades are available, with varying teeth counts (providing a finer or course finish), electric circular saws generally create a rougher edge than a handsaw, so some post-cut sanding will be needed.
Detail Sander
Using a sanding block and sheets can be hard, messy work; asking for a lot of elbow grease! An electric sander will dramatically reduce your workload, whilst speeding things up and still giving your wood edges a nice smooth finish.
A small belt sander can also do the trick, but we’ve recommended a detail sander as they’re a little more refined and perfect for more intricate sanding jobs.
What Parts Will You Need?
To up-cycle your bookcase into a simple home bar requires a few standard fittings, such as screws, brackets and hinges. However, to create something impressive, there are several extra features you can add with just a few more fittings.
Here’s a selection of our recommended Eurofit Direct fittings, guaranteed to give your home bar that extra edge:
THE CUPBOARD
Cabinet Hinges
No matter what sort of bar you’re making, whether it’s a large-scale project or a simple drinks cabinet (like ours), there are plenty of hinges available to suit. Our cabinet hinges cater for a range of door and fitment types, from concealed to heavy duty and all in between.
Cabinet Door Locks
Keep those drinks safe and secure with a cabinet door lock that’s quick to install. We have a range of cabinet locks from light to heavy duty, perfect for protecting those extra special bottles of gin.
Cabinet Handles
Finish your home bar off with some cabinet handles. Choose from Bar, Bow, D, Drop, Latch, Pull, Square Knob or T Bars to create your perfect look.
Desk Cable Hole
An optional extra; add a desk cable hole at the back of your drinks cabinet, allowing for wiring for low voltage lighting. This is a safe, easy to install option which will add an extra element of quality to your project.
Low voltage lighting can be plugged in to mains using a transformer, with low wattage bulbs so there’s no need for electric wiring.
Not sure which is the best choice of cable port is right for you? We’ve also got a handy guide on that too: What is a Cable Hole Tidy?
OTHER
Castors
Why not add some castors onto the bottom of your bar to create a mobile application- ideal for bringing your bar outside! Remember to get use braked castors (you don't want to lose any of your valuable gin bottles!)
THE PULL-OUT DRAWER
Drawer Slides/Runners
Depending on the type of drawer you’re wanting to install on your home bar, we recommend installing a set of drawer slides. These little extras are easy to install; offering a smooth and effortless opening action for your drawer unit.
Soft Close Drawer Damper
No loud noises or trapped fingers. Soft Close Drawer Dampers are designed to allow your draw units to close smoothly and quietly.
Drop Down Cabinet (Optional)
Another popular choice of bars are the flap down style. Our bureau stays are designed to keep your lid in an open and closed position. Our range includes soft close stays which allow smooth and quiet movement.
The Build
Building Your Home Bar: Step by Step
1.The first thing to do is prep your existing furniture, whether it’s a cabinet, bookcase, TV casing or anything else, the chances are it will need some form of touch up. If you’re aiming for a totally new look, consider sanding the whole thing down (with repainting towards the end of your project).
2. (Optional) If you are adding some lighting inside your drink cabinet drill the hole for your cable port on the back (make sure you are drilling higher than the top shelf and with the shortest route possible to where your lighting will sit (we suggest placing your low voltage light in the centre, on the underside of the cabinet top.). Install the port fittings if your cabinet isn’t to be painted or treated late, otherwise leave this until after everything is dry.
3.To create a concealed section, you will need two shelves (spaced apart enough for your tallest drinks bottles to go between!) with the top shelf being slightly shallower from back to front than the bottom. For instance, if the depth of your cabinet is 35cm, the lower shelf should be the same, with the top being around 25cm. Cut these either with a hand saw or circular saw, sanding the cut edge afterwards and paying attention to the front (which will be seen) in particular.
4. To add the shelving brackets, draw level lines (using the spirit level) on both sides (inside) of your bookcase or cabinet from back to front. To ensure both lines are at equal heights, either measure from the top and mark on both sides, or draw a level line along the back beforehand, use this as your guide!
5. Once you have your level lines, use these as a centre to drill your 5mm holes (two of on each side), without drilling all the way through! Insert your shelf supports.
6. Slide your shelves on to the shelf supports. Once in place, measure the distance from the front edge of the bottom shelf to the front edge of the bottom shelf (your tape measure will be diagonal); this will determine the size of the drop-down door for your concealed drinks section.
Home Bar Inspiration
Struggling to come up with that creative spark for your design? Head to our Pinterest for design inspiration gallery. We’d love to know your favourite, leave us a comment on the best picture!
