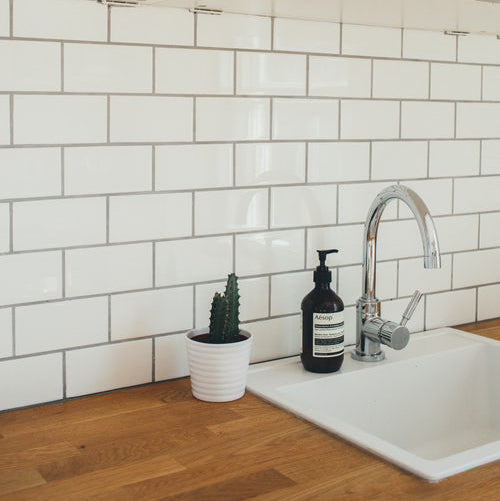
The kitchen sink - probably one of the most used kitchen fixtures in the home, and we think that’s why it is important to take care of it. We understand there are so many to choose from and when there’s a problem finding the right solution may seem a difficult task.
However, at Eurofit we believe its important to know how to deal with a common problem for many homeowners. When sinks are installed into the counter tops they are sealed in order to keep it in place, whilst making it watertight.
Like most things, the sealant/ caulk has a shelf life and only lasts for so long.Over time the seal can begin to dry out, shrink or crack. If these problems occur its important that you replace the old caulk and reseal the kitchen sink as soon as possible to prevent further damage.
Here are Eurofit we’ve done the hard part for you and created this simple guide to do exactly that!
Difficulty – Intermediate
Duration – 2-3 hours
Step 1: Removing the old sealant
The caulk in your kitchen sink could be made up of a variety of different materials, however the most common are silicone and latex, chances are your caulk is made of one of these.
There are two different ways in which you can remove the sealant around your kitchen sink. Before you begin, its worth noting that if you are completely sure which material your caulk is made from you can purchase a specific solvent to dissolve the material. However, if you are unsure which material your caulk is you will need to dig remove the old caulk.
We find that there are two techniques that best remove the caulk (we think the first is much simpler);
1- Take your utility knife and insert the blade against the sink and the counter, go careful to ensure you do not damage either of these. Your blade will then slice though the caulk and will leave it free to be pulled away. Sometimes it may not be possible to remove the caulk this easily, in this case you will need to remove your kitchen sink
Note: Removing your sink is the most effective way to complete this project; it allows you to remove any caulk that may have been set underneath your sink.
2- Begin by lifting your sink out. Nowadays, in most kitchen sinks they are held in place by sink retaining clips. Using your screwdriver, loosen the clips and lift your sink enough to remove any caulk underneath.
Note: your taps pipes may need to be extended enough to allow you to lift your sink. If not, you will have to turn your water off at the mains and remove these pipes to complete this stage.
Step 2: Cleaning your kitchen sink
One you have successfully removed the caulk from your sink, you will need to thoroughly clean it in preparation for installing the new caulk. This is where removing your kitchen sink comes in handy.
Begin by eliminating any visible dirt, remaining caulk, grime/grease that may be trapped beneath the edge of your sink and around it. To do so, use denatured alcohol, this is the ideal solution for removing any caulk residue along with any other substance. Another advantage is denatured alcohol dries at a faster rate

Step 3: Applying your new caulk
The next step is to apply your new caulk and seal your kitchen sink again. We advise purchasing a tube of caulk simply visit your local DIY store ensuring it is applicable for kitchens/bathrooms. Meanwhile, experts will be on hand to help you select a caulk that is tinted to match your kitchen sink or counter tops. Also, we advise choosing a caulk that has a small hole to ensure you can slowly and carefully apply it to your sink and prevent damage.
Tip: We find that using masking tape around the edge of your sink creates a perfect guide to apply the caulk along.
To apply the caulk, hold the tip of the tube against the edge of the sink so it is joined to the counter at roughly a 45-degree angle. Apply the caulk in one continuous strip, ensuring you pull it around the sink as opposed to pushing it. Your finished strip should be free of gaps.
Step 4: Completing the seal
Once you have created a neat strip of caulk around the perimeter of your kitchen sink, you will need to tool it into place. To do so, you can either purchase a specialised caulking tool or use the tip of your finger (two guesses as to which is cheaper!)
Wet your finger to ensure it smoothly glides along the caulk, ensuring you are gentle when you do this. Then, press your finger onto the caulk and against the sink and counter, when doing this try to avoid pulling/moving the caulk as your joint could move out of position. Do this all the way round the sink until you have a smooth finish with no visible gaps.
Note: Do not use your sink for 24 hours after your new caulk has been installed, the area needs to stay dry thoroughly in order to correctly set.
We hope you found this blog useful, share it below!

