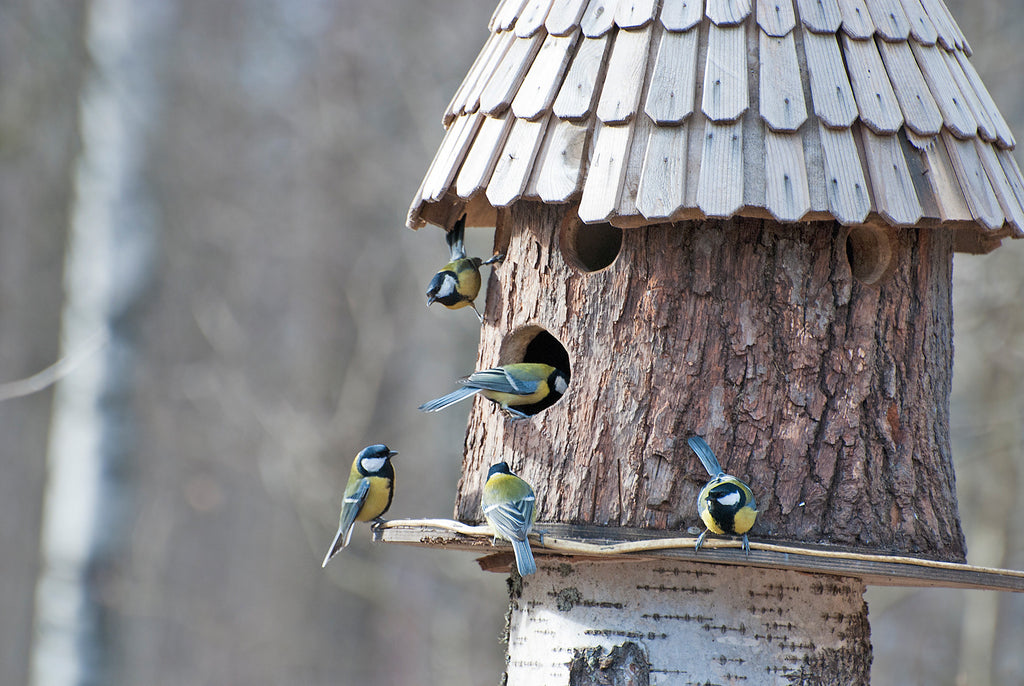
HOW TO: Build a Birdhouse
💪 DIFFICULTY RATING: 30%
⏱ TIME: 2 Hours
An ever popular addition to the nation’s gardens, a bird box will allow you both to breathe life into your outdoor space and to welcome the sights and sounds of the UK’s wildlife to your own back garden.
This is a relatively simple DIY project, provided you have basic woodworking experience. Depending on how long it takes the glue to dry, this can be easily achieved in under two hours (though don’t beat yourself up if it takes longer!) It is certainly the ideal project for a summer’s weekend.
This guide provides you with step-by-step instructions on putting together a basic hanging birdhouse, providing a warm, dry and comfortable home for a wide variety of small UK birds.
What you’ll need…
6X1 timber
Sheet of plywood
Hammer (Available at Eurofit Direct)
Nails
Screws (Available at Eurofit Direct)
Saw
Screwdriver
L brackets (Available at Eurofit Direct)
Exterior wood glue
Electric drill and hole cutting bit
¼” dowel (Available at Eurofit Direct)
Sandpaper
Eye bolts/hanging hooks (Available at Eurofit Direct)
Water based latex paint in woodland colours (natural green, grey or brown)
Step 1: Cutting the Wood
To create the birdhouse, you’re going to need to measure and cut 6 pieces of wood, to the following sizes:
- 1 x 6 ¼“ piece of 6×1 timber (for the bottom)
- 1 x 5 ½” piece of 6×1 timber (for the bottom)
- 1 x 9” piece of 6×1 timber (for the roof)
- 1 x 8 ½” piece of 6×1 timber (for the roof)
- 2 x 7” square pieces of plywood (for the front and back panels)
Once you’ve cut your wood, cut your dowel to a length of around 4 – 5“.
Step 2: Assembling The Bottom and Back
Take your two pieces for the bottom of the bird box, then glue the shorter piece to the inside edge of the longer piece at a 90 degree angle, so that both sides of the completed box end up the same length.
Let the glue dry, before securing them in place with a couple of wood screws or nails for extra stability.
Now, take one of your 7” square pieces of plywood, and glue it flush to the inside of the back edges of both bottom sections of your box to create a back panel.
Wait for the glue to dry, and secure it properly in place with 4 screws.
Step 3: Adding The Roof
Place the birdhouse on your work surface, laying it down flat on its back panel.
Now, take the two roof pieces, and fit them to the bottom and back panel of the bird box, with the shorter piece connecting flush to the inside edge of the longer piece, so that both sides of the roof are the same length.
Glue them in place, and then once the glue has dried, secure the roof pieces together with screws, before screwing the roof to the bottom pieces.
For extra stability and support, you can now add your L braces to the centres of the four corners of your box, further securing the roof and the bottom pieces.
Step 4: The Front Panel
Draw diagonal pencil lines from the corners of the front panel to find the centre point. Now, mark a point along one of the lines about 2 ½” from the corner – this will mark the top point of the entry hole you are about to drill, using a 1 3/8” (35mm) hole drill bit.
Once you’ve drilled the entry hole, measure a point about ½ – ¾” below the bottom of the entry hole, and mark a point on the line.
Drill a ¼” hole, and glue your dowel in place to create an outside perch for the birds.
Once the perch has dried, add your front panel to the birdhouse, gluing and then screwing it securely in place.
Step 5: Finishing Touches
Sand down the surfaces of your birdhouse, paying special attention to the dowel perch and the hole, to ensure that there are no splinters or sharp edges that could cause injury to birds as they go in and out.
Add the hanging hooks at equal points to the top of your bird box.
TIP: you may find it helpful to pre-drill the holes, which will also ensure you don’t split the wood or damage the structure.
Now, you can paint your birdhouse. When choosing paint, make sure you go for a non-toxic, water-based latex paint, or a natural stain, as creosote and lead paints can be poisonous.
TIP: The idea is for the birdhouse to blend into its surroundings, so go for natural, camouflage colours.
